
Realistic Texturing & Showcase Rendering – Art Spotlight
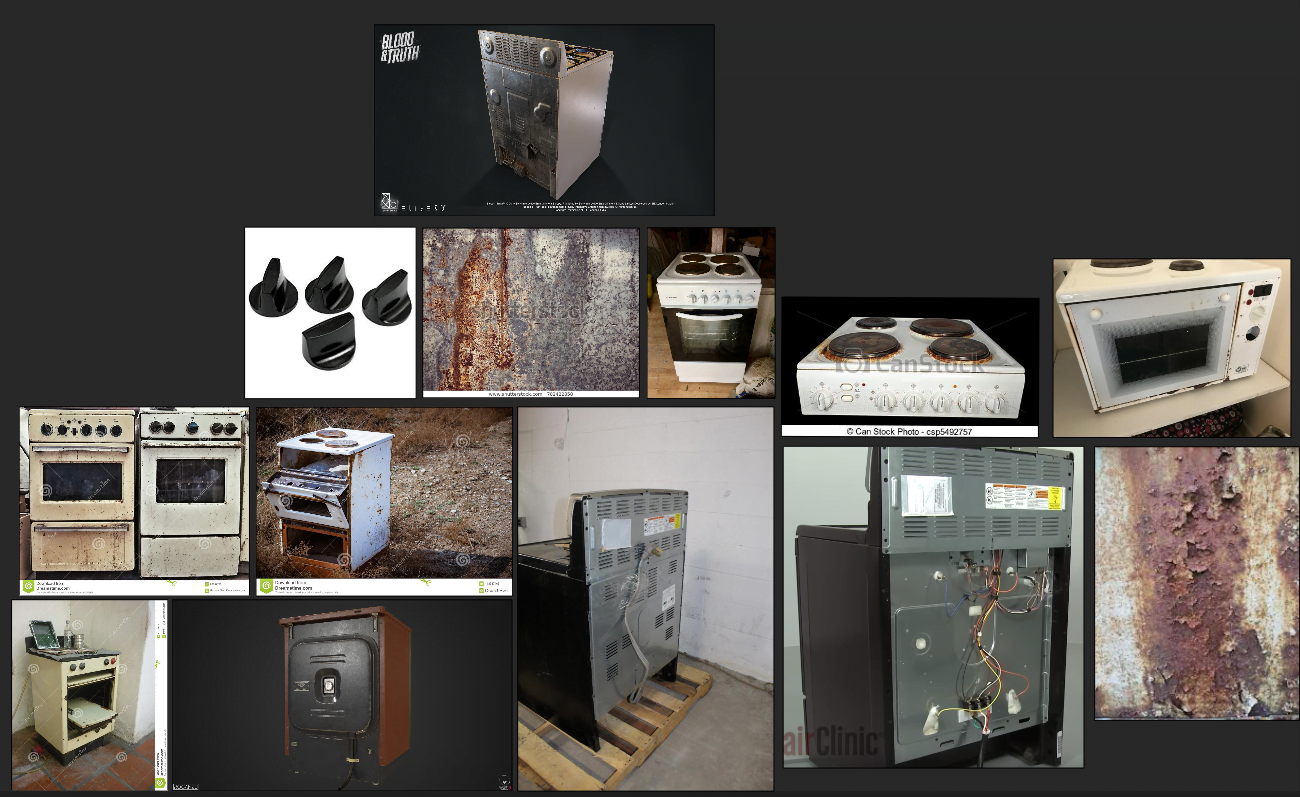
Gathering references
The First Steps

Unwrapping
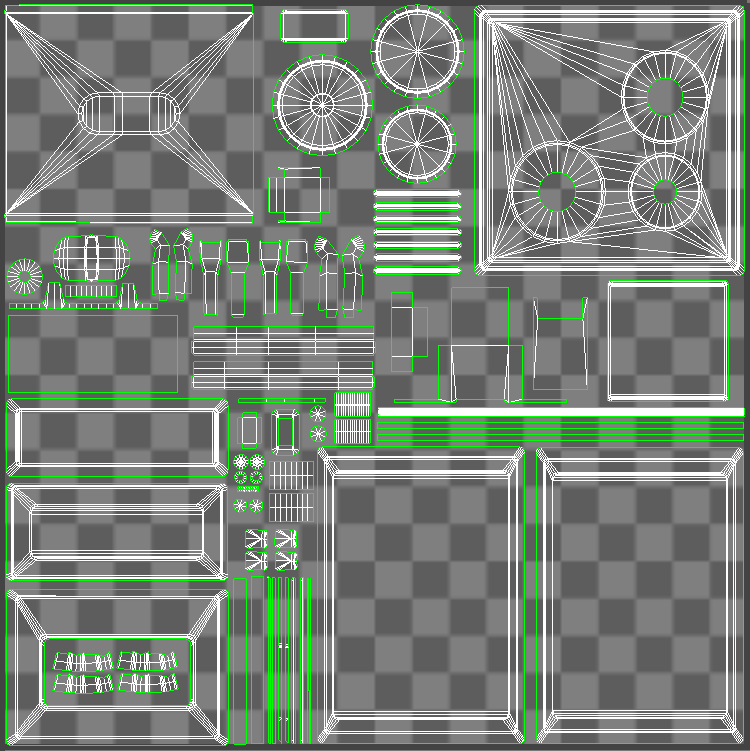

The Resolution
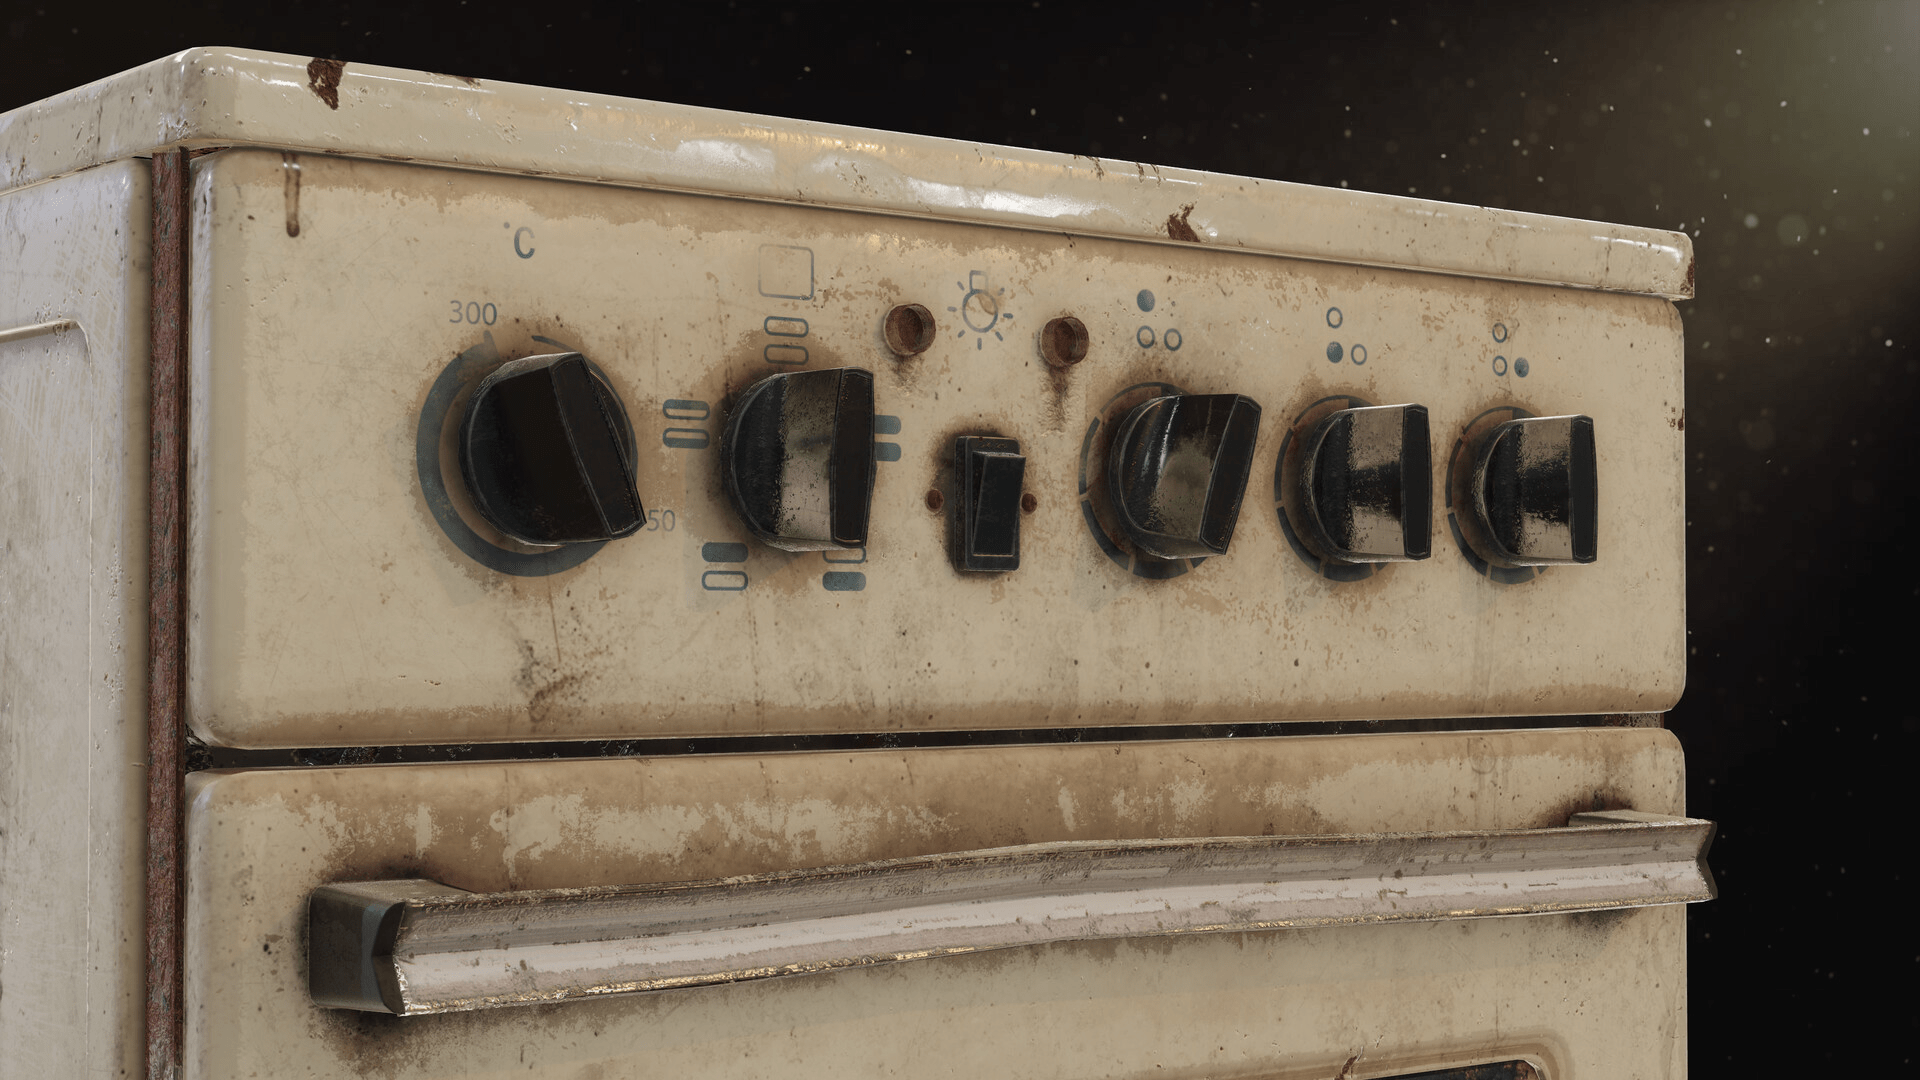
The Yummy Bit
Important Things to Remember

The Detailing
The Most Important Part

In this stage I like to make use of the local reflections and global illumination feature in Marmoset Toolbag as it tends to give the asset that finished and realistic look. I also like to ground my assets with the shadow capture as it is just a personal preference that the asset looks more believable than if it was floating in the air. I tend not to fiddle around with my material as such, rather the camera and scene settings where I manually add lights similar to a 3-point lighting setup to show off the asset in all it’s glory. This usually consists of a warm slightly yellow light at the front, a colder blue light in the back and other lights to illuminate the scene as a whole. I generally write down the type of shots that I want to show in my portfolio and create a scene for each one of these so that I can easily retake if needed. The direction of the light is key to displaying your material definition and so I always make sure to direct a light that bounces off of a surface towards the camera that catches your eye. After that, these are then taken into Photoshop and masked onto a gradient background with an overlay particle effect.


Mary-Sue C - 3D Artist
A 3D artist from Sheffield working at Coatsink since April 2019 this year; previously at Sumo Digital in Sheffield on titles Hitman 2 and Crackdown 3.
https://www.artstation.com/artwork/v15o06


Northern Design Centre, Abbott's Hill, Gateshead, NE8 3DF
© 2011 - 2025 COATSINK SOFTWARE LTD. ALL RIGHTS RESERVED.
All trademarks referenced herein are the properties of their respective owners.